Overview
Route groups are used to declare and manage the transport routes applied when calculating charges. This information supports route mapping, automatic application of freight rates, and charge calculation based on the configuration.
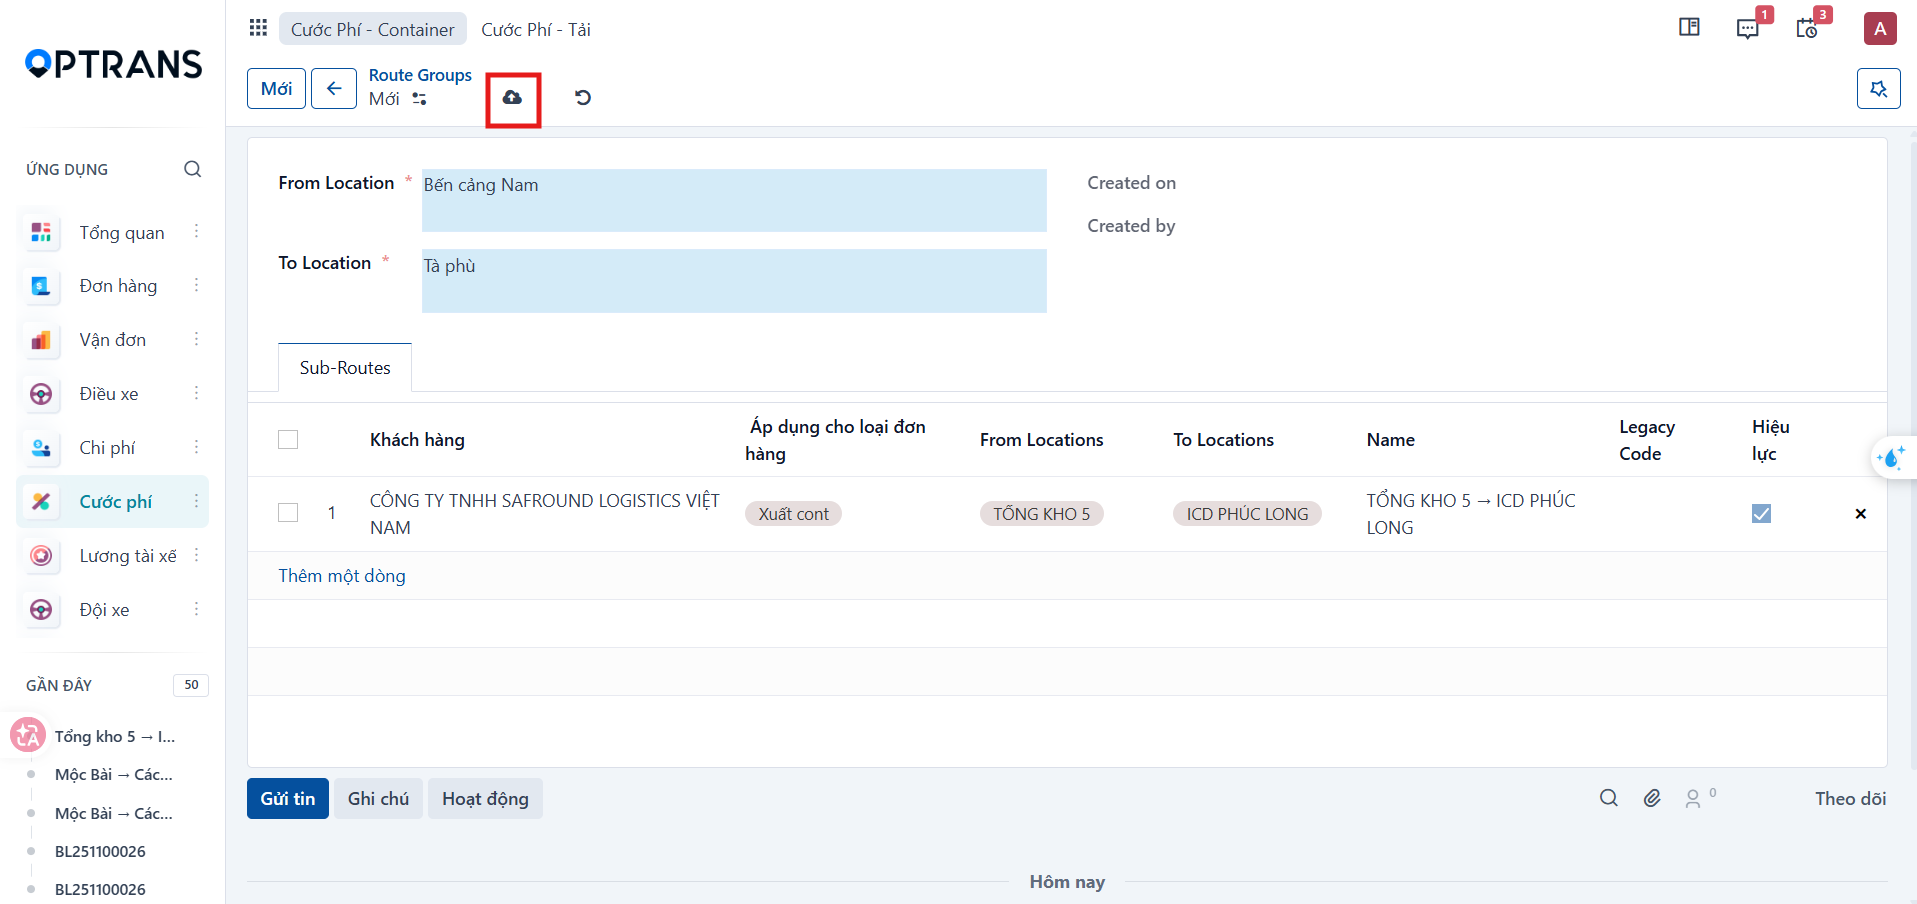
Each route group has an origin, a destination, and the Sub-Routes that apply per customer or per order type.
Creating a route group
Step 1
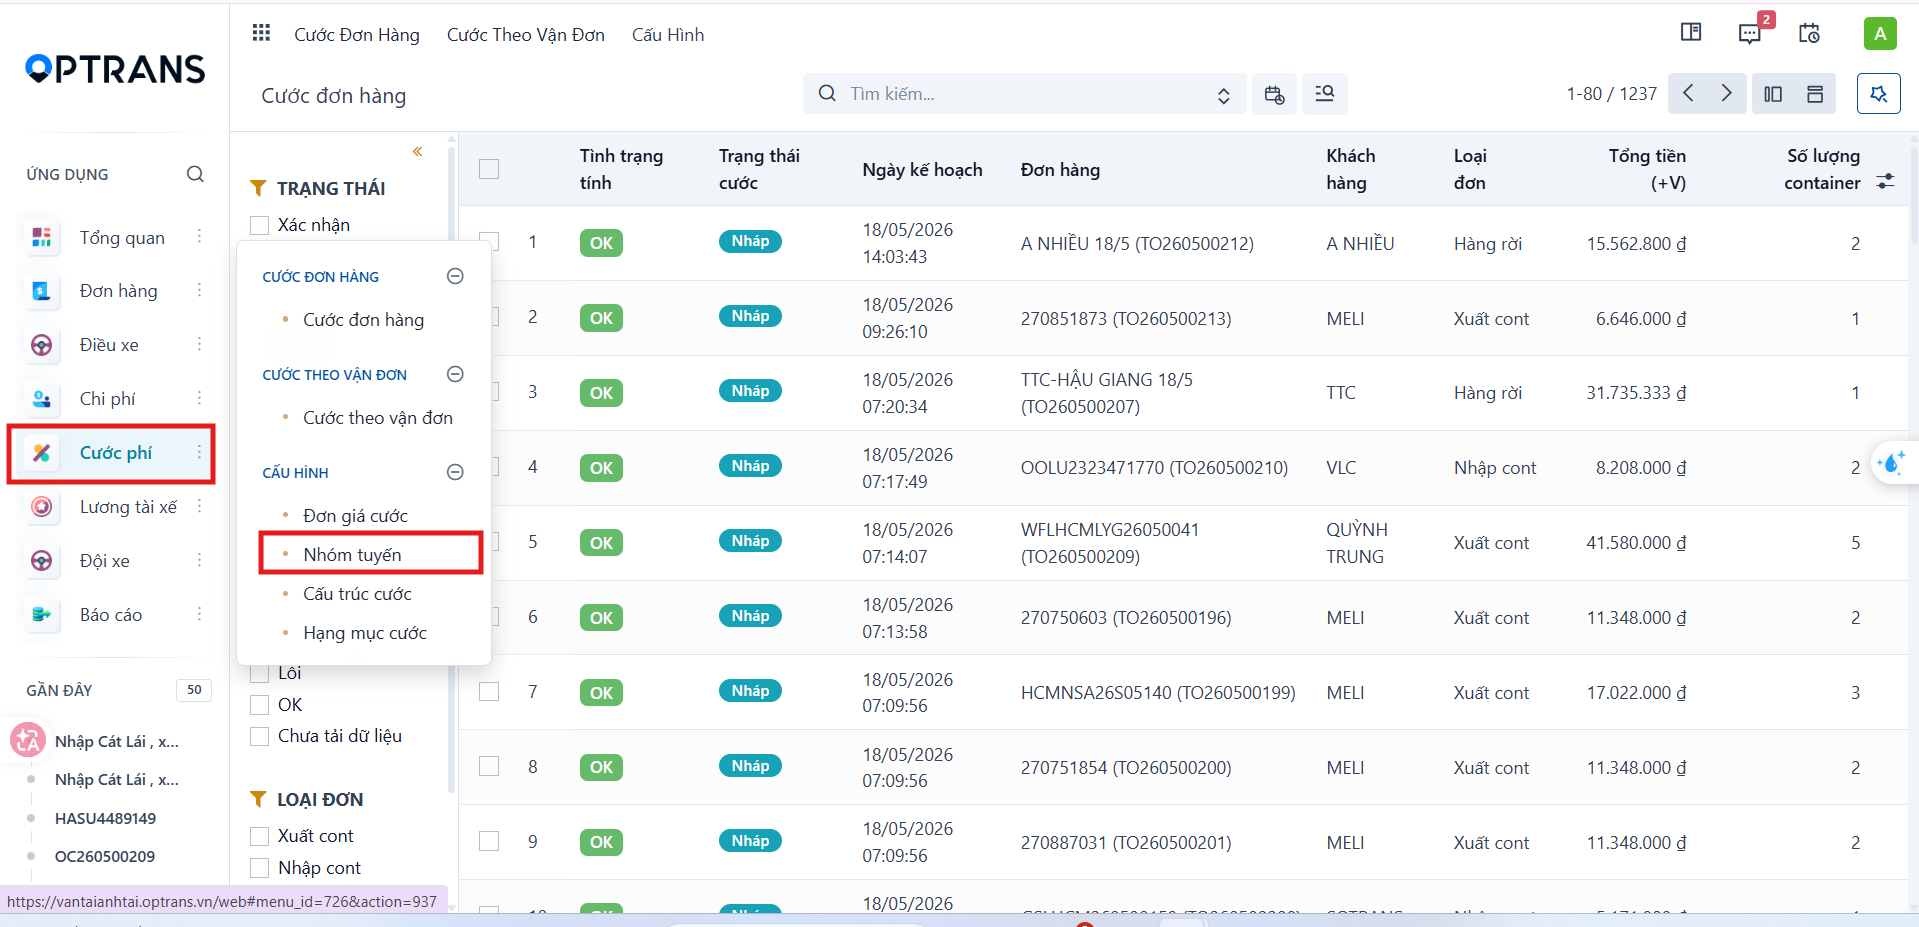
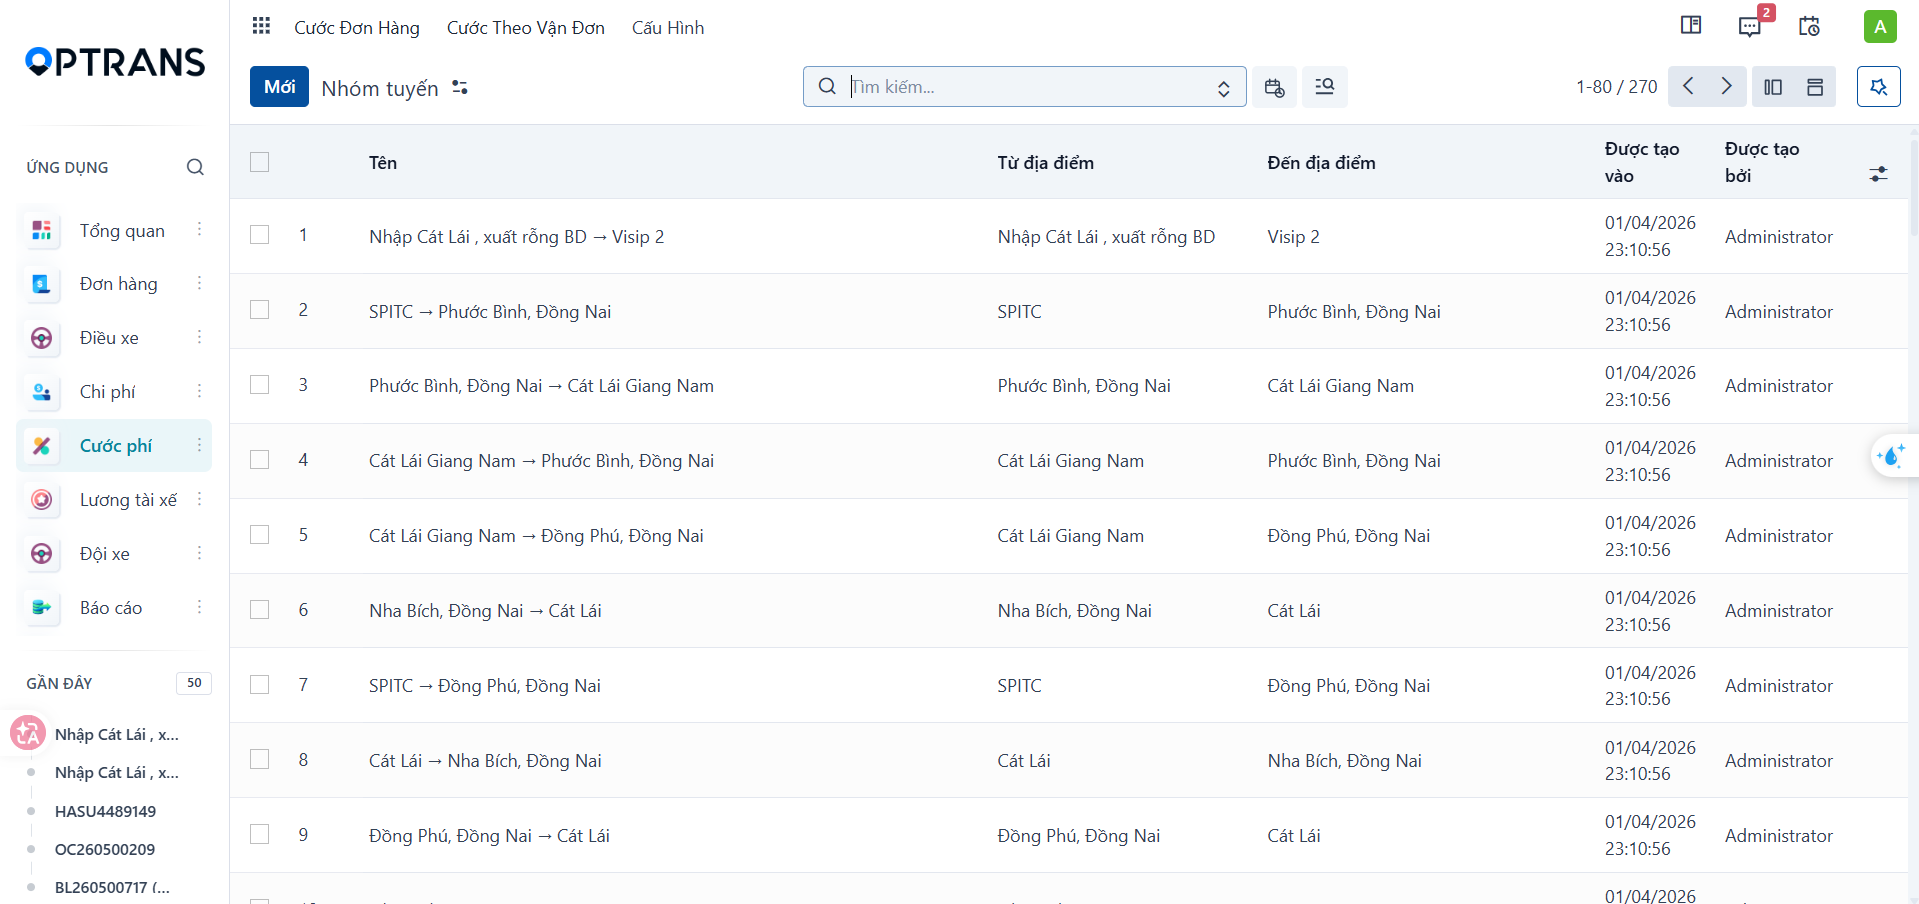
Go to Freight charges > Configuration > Route groups. The system shows the list of route groups already declared.
Step 2
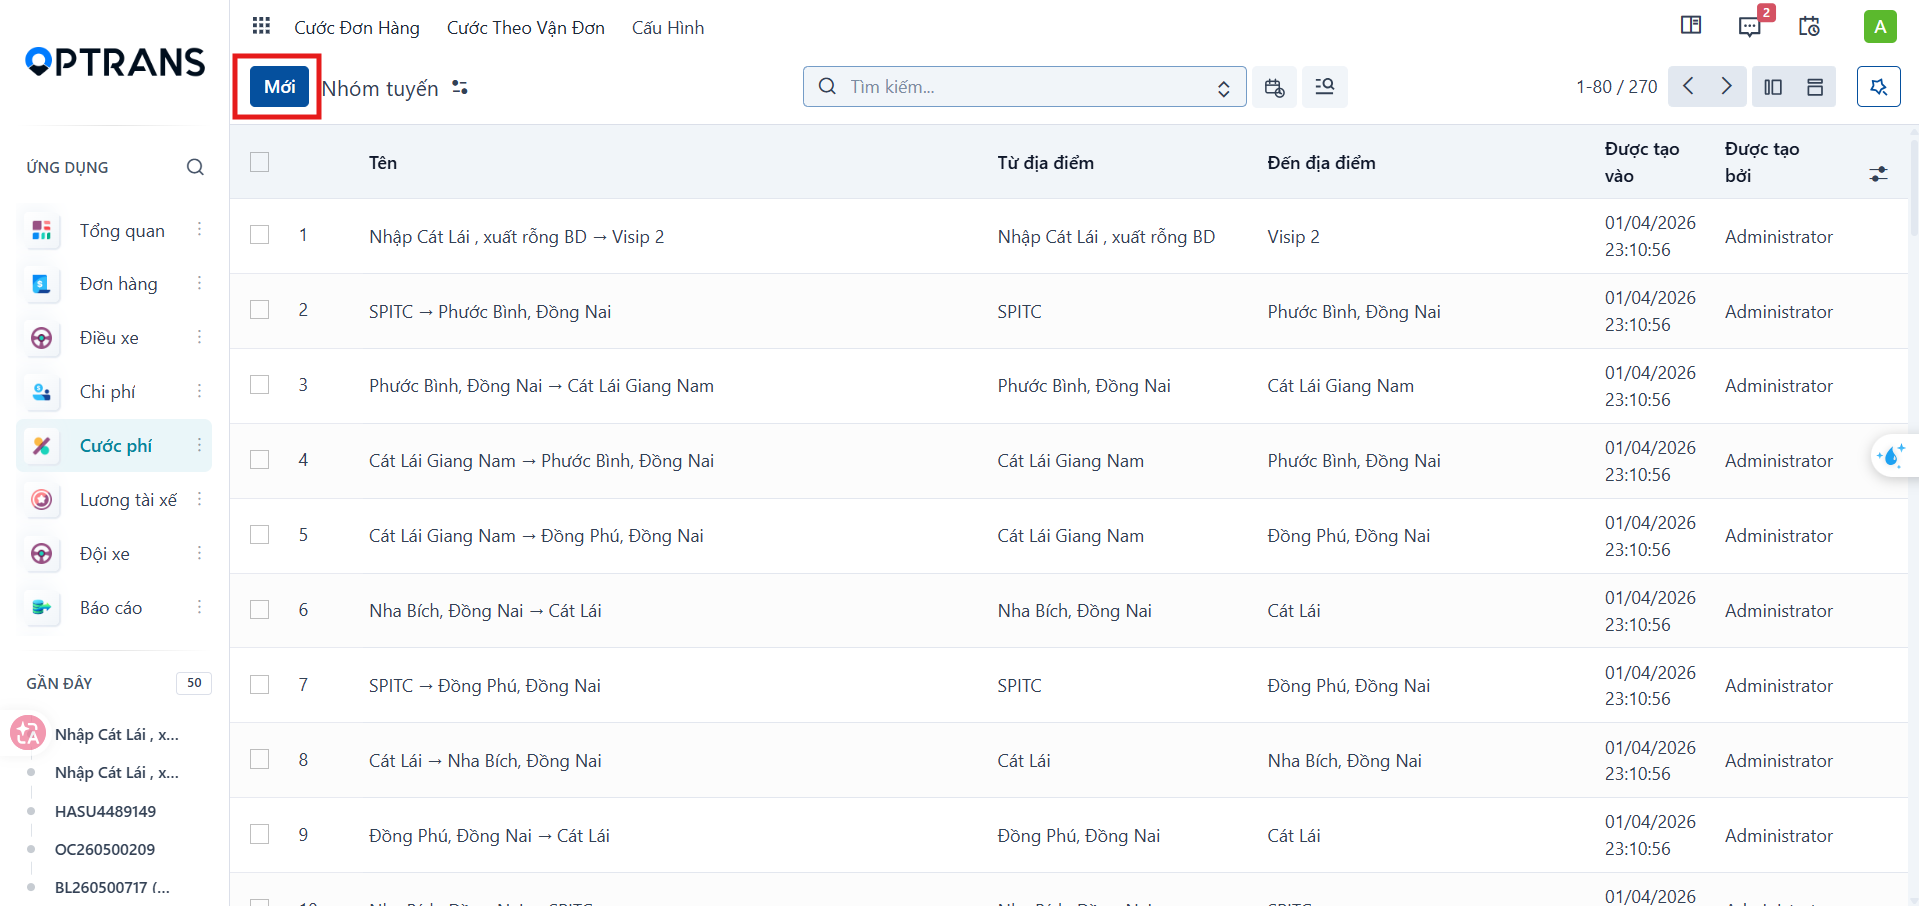
Click New to open the route group declaration screen.
Step 3
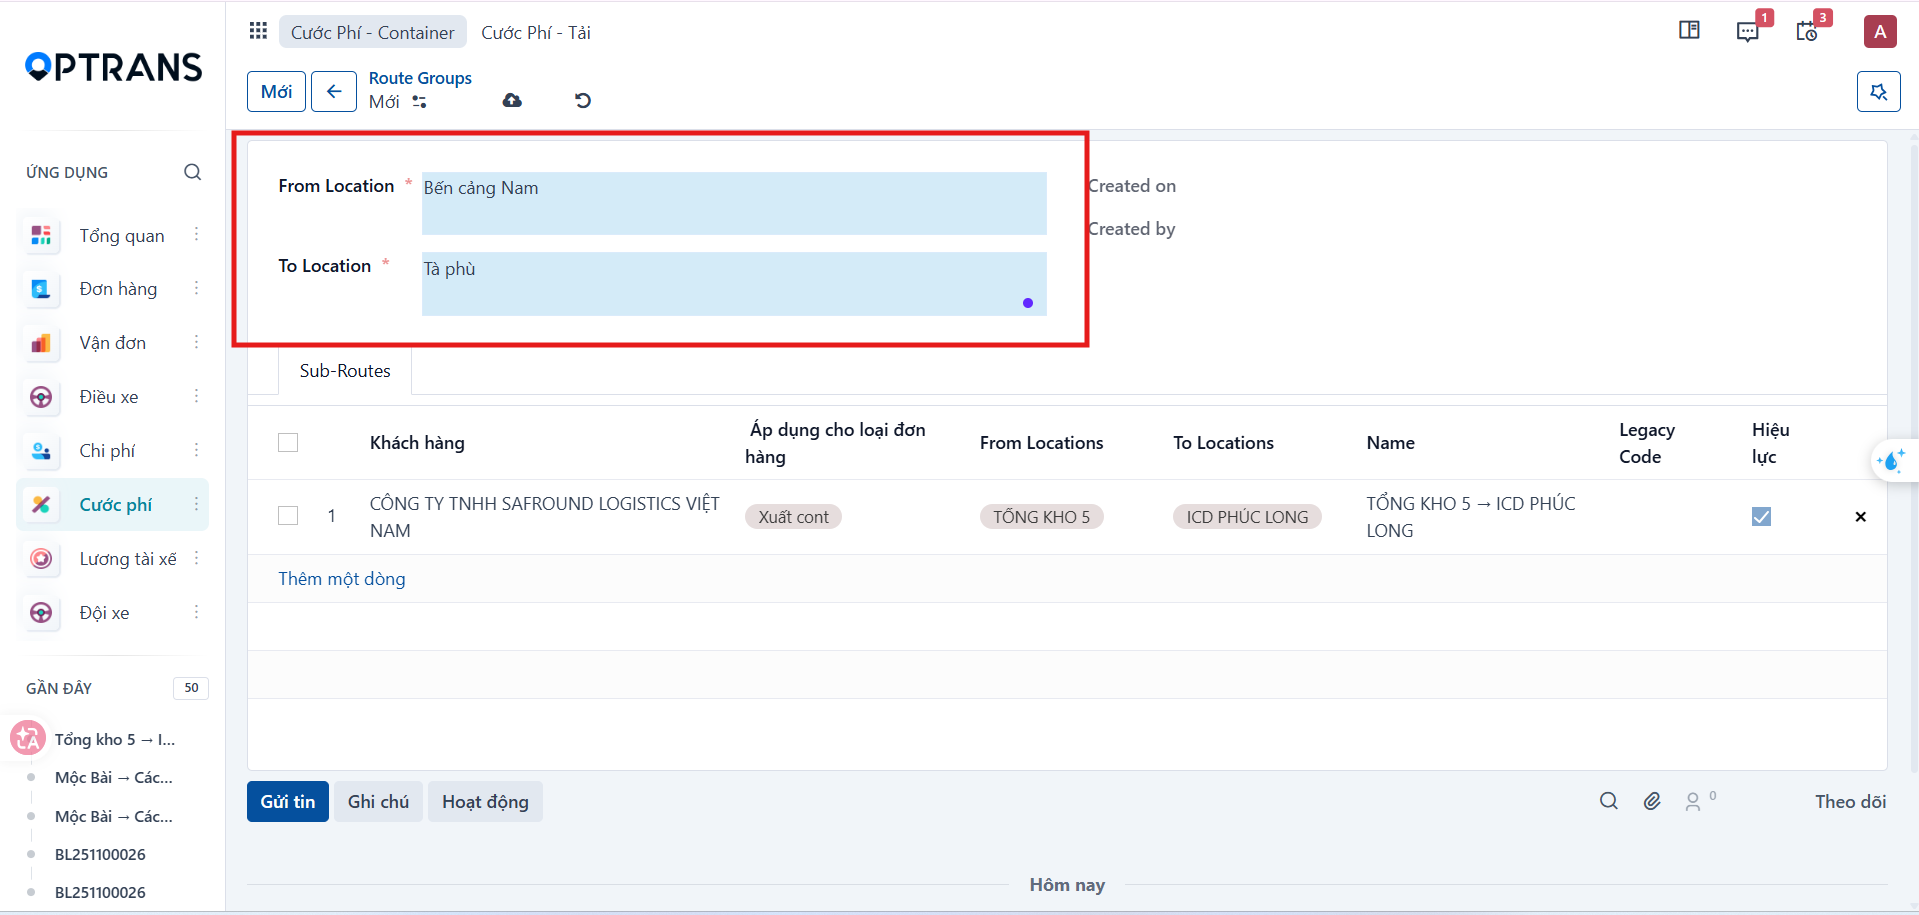
Declare the main route:
- From Location: the origin.
- To Location: the destination.
Selecting an existing Sub-Route
Step 4
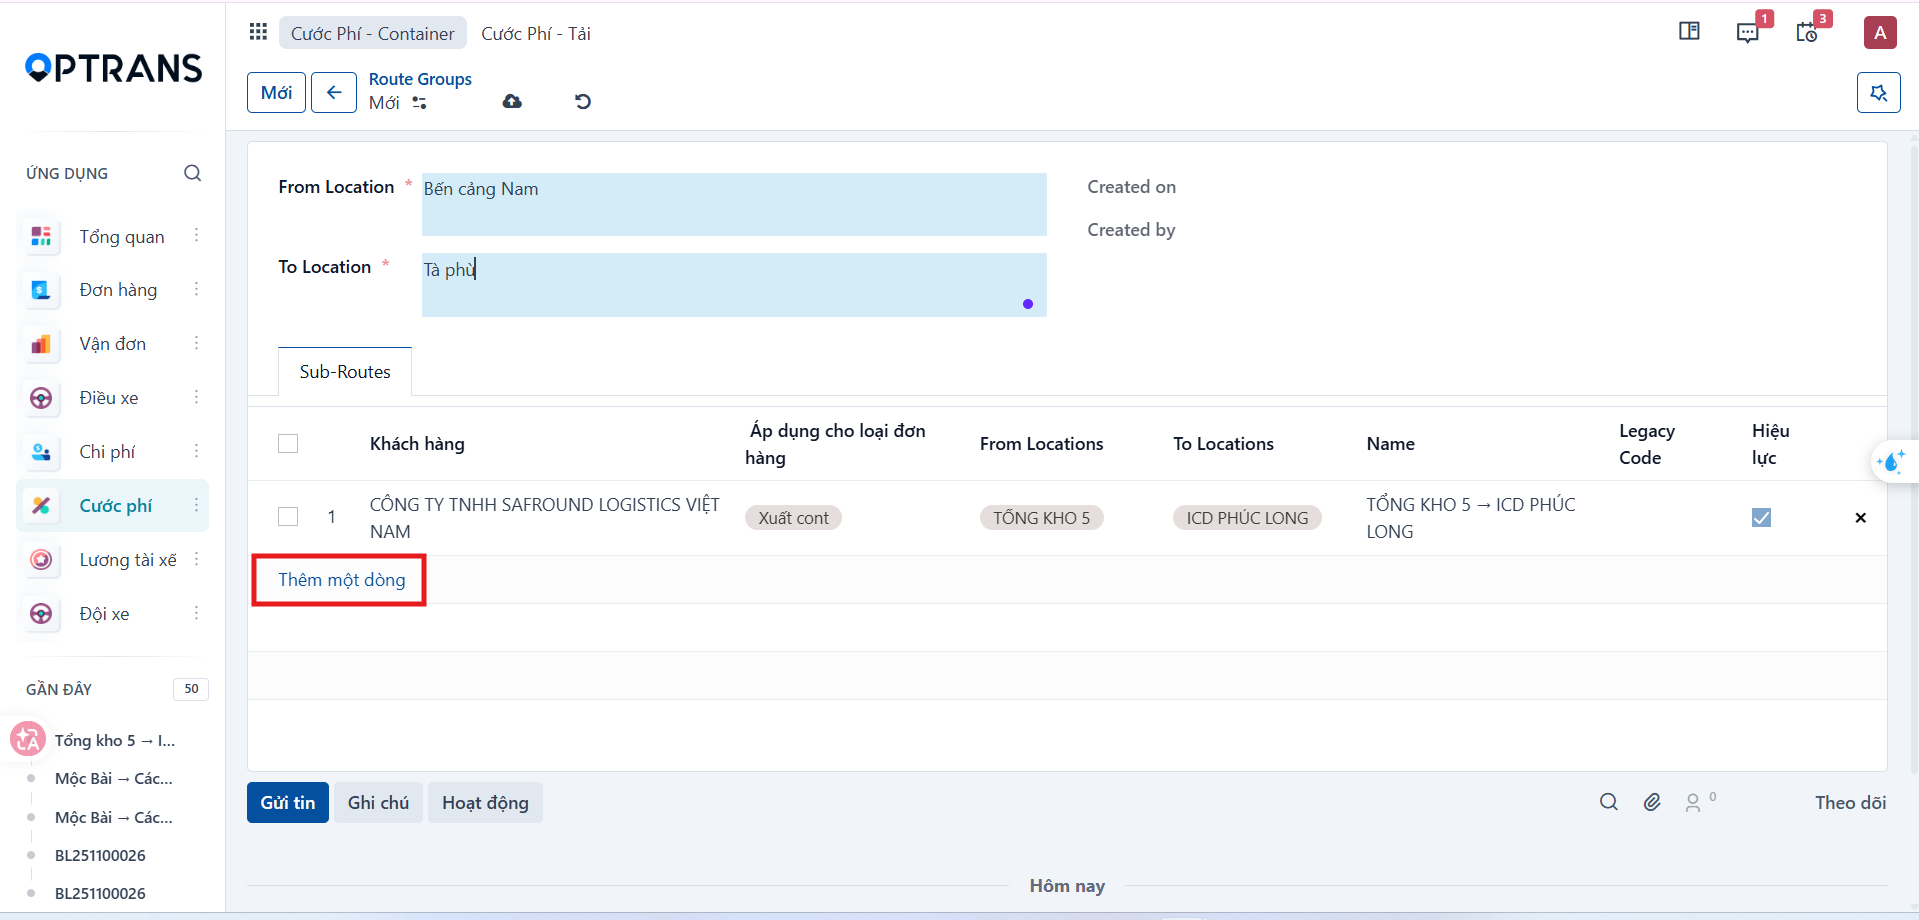
On the Sub-Routes tab, click Add a line to declare the applicable route in detail.
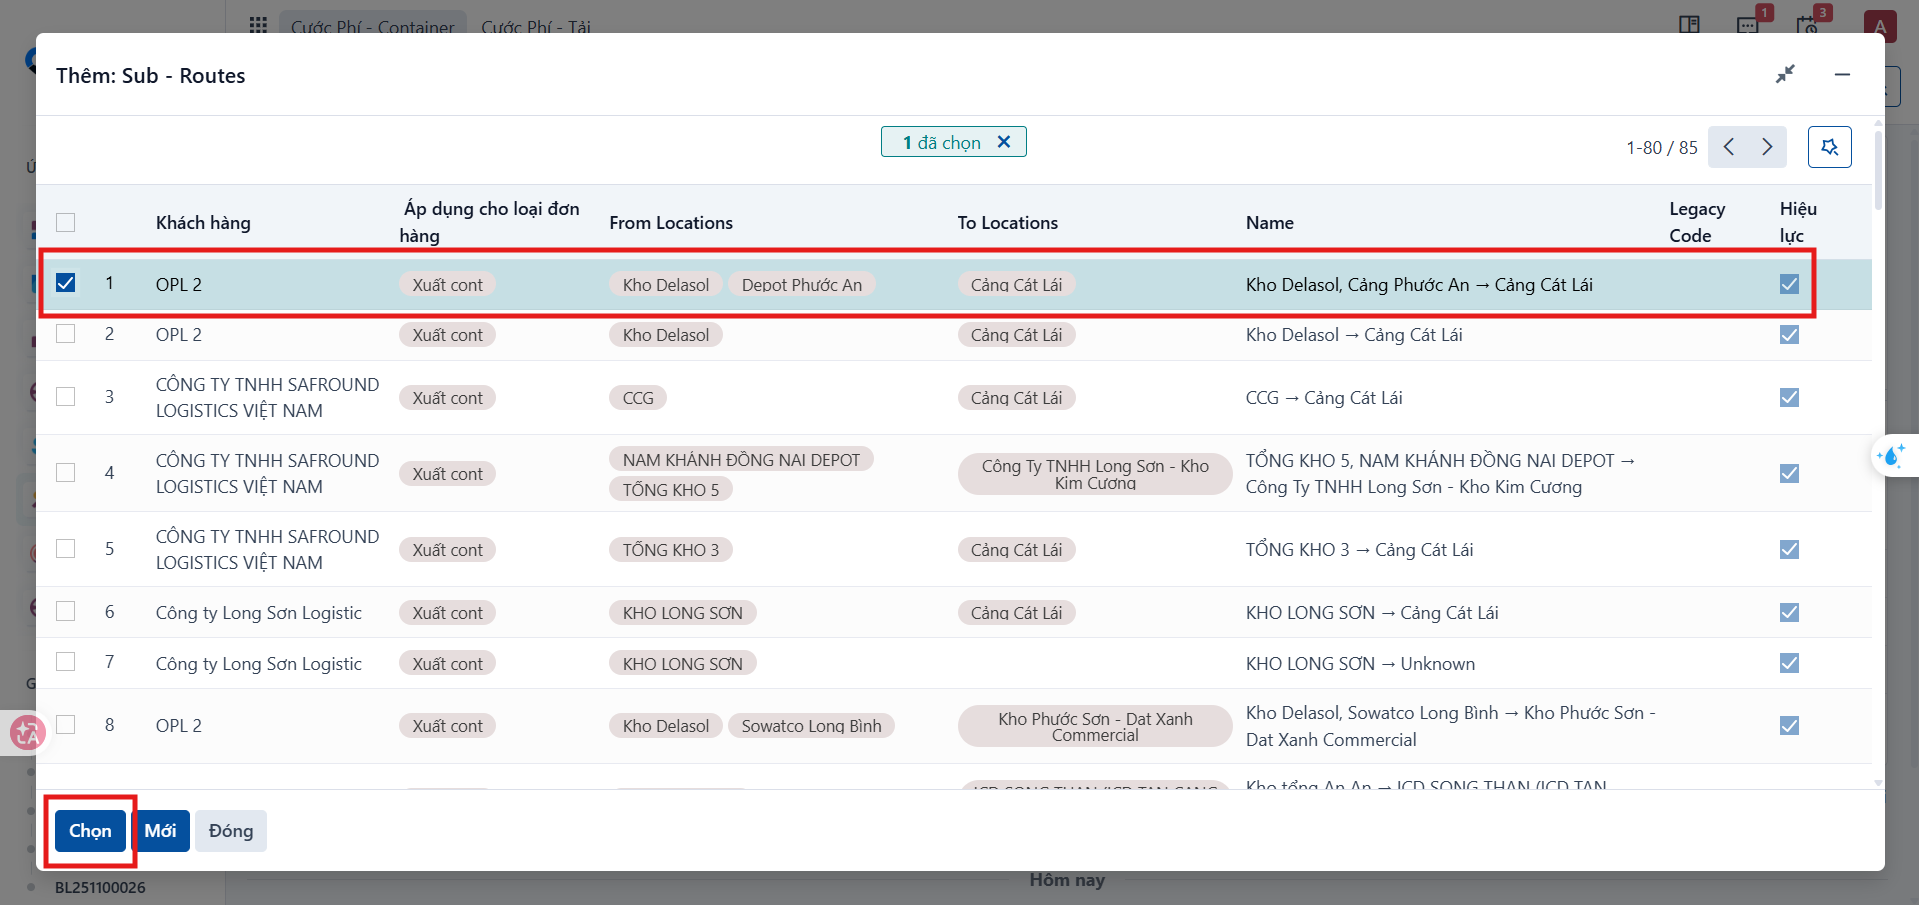
If the Sub-Route already exists in the system, select the matching sub-route and click Select to add it to the current route group.
Creating a new Sub-Route
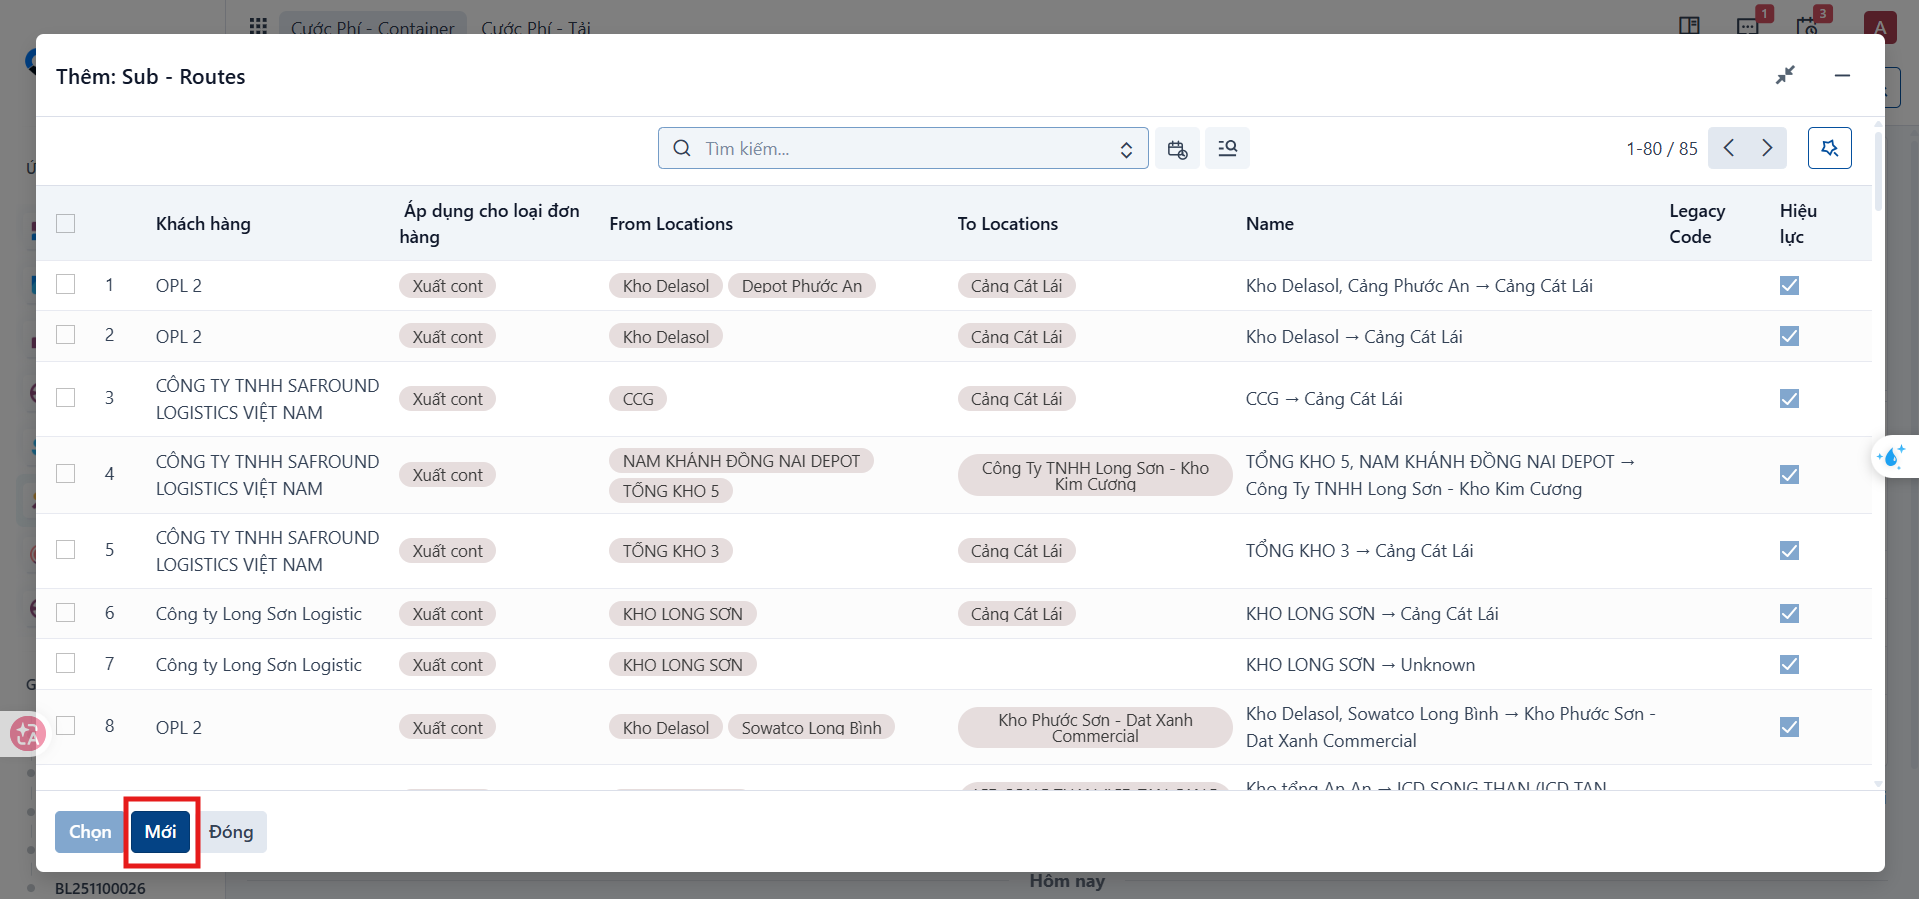
If no suitable Sub-Route exists, click New on the Sub-Routes list screen to create one.
Fill in the following information:
- The customer it applies to.
- The order type it applies to.
- The origin.
- The destination.
- The route name.
- The route code, if any.
- The effective period.
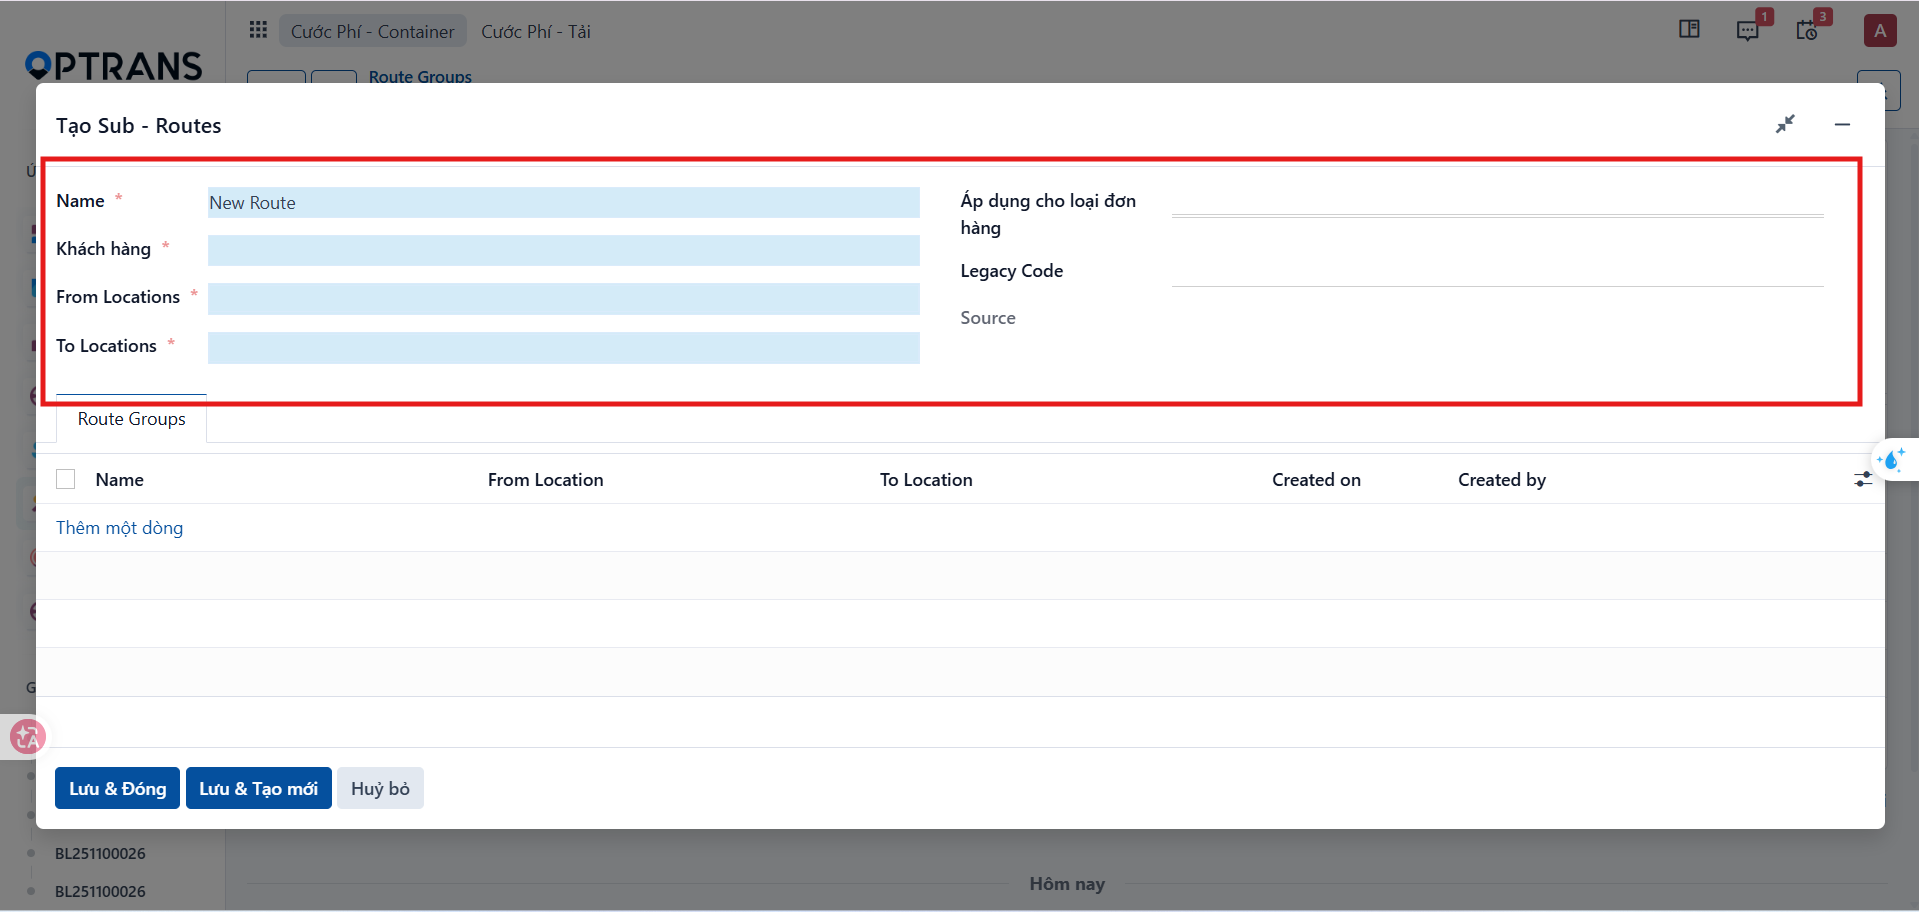
When you are done, choose one of these buttons:
- Save & Close: save and return to the previous screen.
- Save & New: save and continue creating another route.
Saving the route group
Check the main route and the list of assigned Sub-Routes, then click Save manually to record the route group.